Why would shoppers just swipe past your product that you've worked so hard to perfect? The key isn't that your photos are ugly—it's that they lack a "dynamic narrative." A 3D animation production process is the systematic tool that upgrades static visuals into video with emotion. But when you search for “3D animation production process,” most results are scattered software tutorials or flashy demo reels—rarely does anyone explain the whole pipeline clearly.
Let's start with a simple definition: 3D animation production process refers to the complete workflow path from client requirements to a deliverable 3D product video. It includes requirement breakdown, storyboarding, modeling, texturing, scene set-up, keyframe animation, lighting, rendering, and post-production. There's a saying in the industry: "If the workflow isn't mature, renderers stay up all night." That's just another way of saying that a lack of standardized process causes endless rework. Professional teams deliver consistently because they build "quality gates" at every single stage.
Especially with AI entering the scene, the 3D animation production process has been reshaped: AI-assisted modeling, AI-generated textures, and even AI-driven camera moves mean tasks that used to require 5 people over 10 days can now be done by 2 people in 3 days. But no matter how the tools evolve, the flow skeleton never disappears—it only becomes faster. Next, let's break down a complete 3D production process for product animation screen by screen.
Stage 1: Requirements & Strategy — Don't model yet, define the audience
However dazzling your animation is, putting it on the wrong channel is pure budget waste. An Amazon main image video and a Douyin in-feed ad differ completely in length, pacing, and visual focus. That's why at the very beginning we spend hours clarifying your core selling points: which features absolutely must be shown? Which are just nice-to-haves? We also balance reference styles and narration tone. Most outsiders skip this phase, but it directly drives as much as 80% of the rework later.
Stage 2: 3D Modeling & Basic Scene Setup
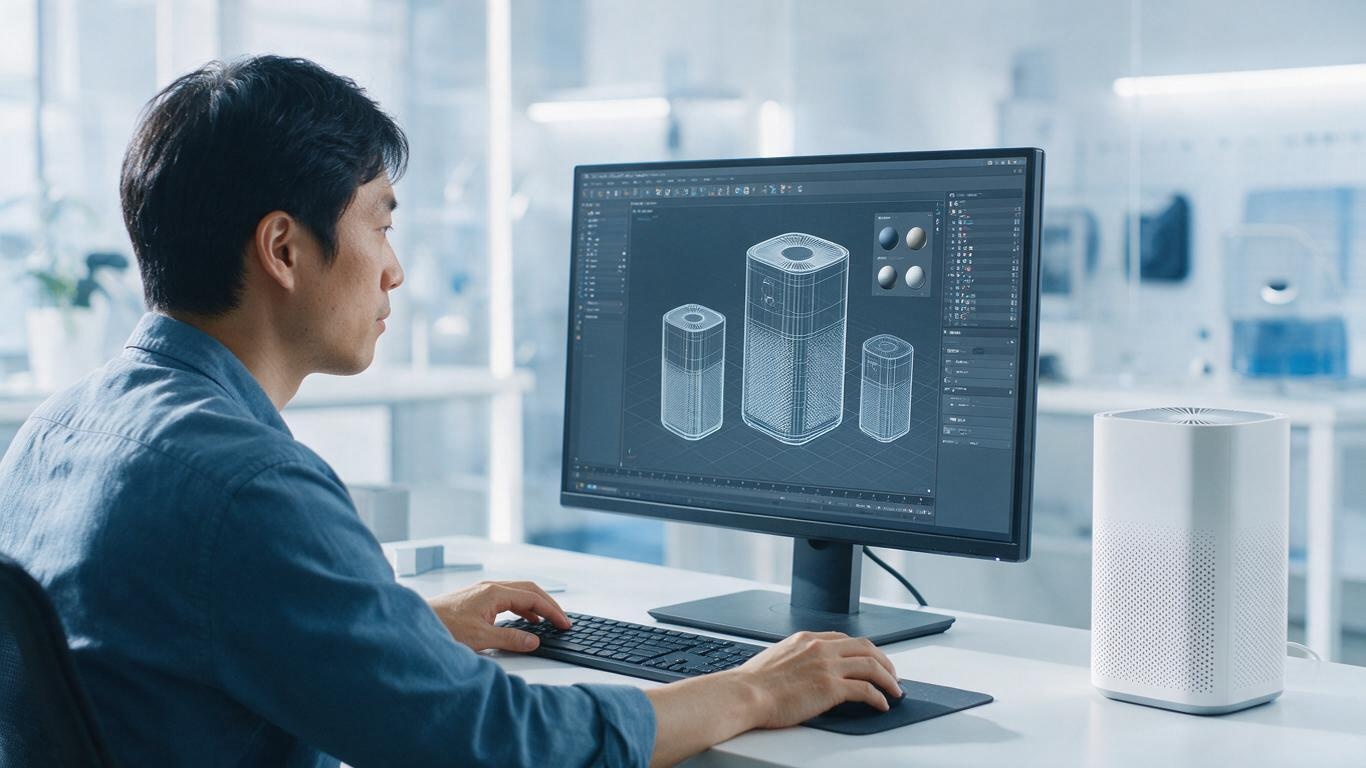
If you have CAD files from industrial design, we can directly convert them into lightweight render-ready meshes. Without CAD, our modelers build from product photos or caliper measurements. Model density is not always better; it depends on the close-up level. For high-detail close-ups, critical curved surfaces need fine mesh; for wide shots, minor details are hidden to keep render times shorter.
In traditional 3D pipelines, this stage alone may take 3–7 days. But with help from AI-generated 3D modeling tools, it can shrink to half a day. To learn more about how AI improves modeling, read our earlier post: AI-Generated 3D Modeling Workflow Explained.
Stage 3: Materials, Lighting & Realism Polish
A good product animation makes viewers want to buy—the trick is being "fake but convincing," which depends entirely on your material system and lighting logic. Industrial products often use frosted plastic, brushed metal, or glass refraction. Each needs realistic roughness, index of refraction, and texture noise. Lighting is like a professional photo studio: classic 3-point lighting can work, but truly premium visuals combine HDR environment maps with area lights to create soft reflections and cinematic gradient highlights on the product surface.
Stage 4: Motion Design — Let the product “act”
Animation here isn't about having the product tumble randomly—it's about executing a storyboard. For a thermos, we first slowly rotate the container, then cut to an internal wall section animation, then disassemble the cup, then simulate the pouring motion. Every movement needs careful acceleration curves: fast-at-start and slow-at-stop produces a premium feel; abrupt speeds suit energetic messaging. AI motion generation now predicts natural pacing between keyframes, letting viewers physically feel the product quality.
Stage 5: Rendering & Compositing
Rendering turns vector data into final pixels—the most compute-heavy stage. With output at 1080p or 8K and hundreds of frames, a traditional CPU benchmark can burn weeks on a farm. We use GPU real-time rendering assistance to compress single-frame time to tens of seconds. After rendering, artists handle color grading, environment reflections, particle effects, and sound effects in compositing software—this is where the final emotional filter gets applied.
The evolution from live-action to AI+3D isn't a leap in one giant step, but a clear rewriting of responsibilities across each stage. You can compare both workflows in our article: From Live-Action to AI+3D: Production Process Evolution.
Transparent Process > “Custom” Selling Points
Smart brands now ask for a production timetable and quality checkpoints: when is the model preview ready? When will the first draft render be shown? When is final delivery due? This signals a maturing industry. For merchants who haven't tried 3D product animation yet, don't get bogged down in technical specs. Instead, choose a team willing to explain their process openly, and spend your budget on something driven by requirements rather than a lottery ticket.
If you're planning to create a 3D showcase for your own product, ask the team for a production timeline—it's the fastest shortcut to assessing their professionalism. A process that's transparent from planning to rendering is far more reassuring than a promise like “we'll make you satisfied.”