A client of ours once sat in a review meeting, watched the finished cut twice, and said: "The lid opening feels wrong." The motion itself was fine. The problem was in a document he had signed two weeks earlier without reading closely.
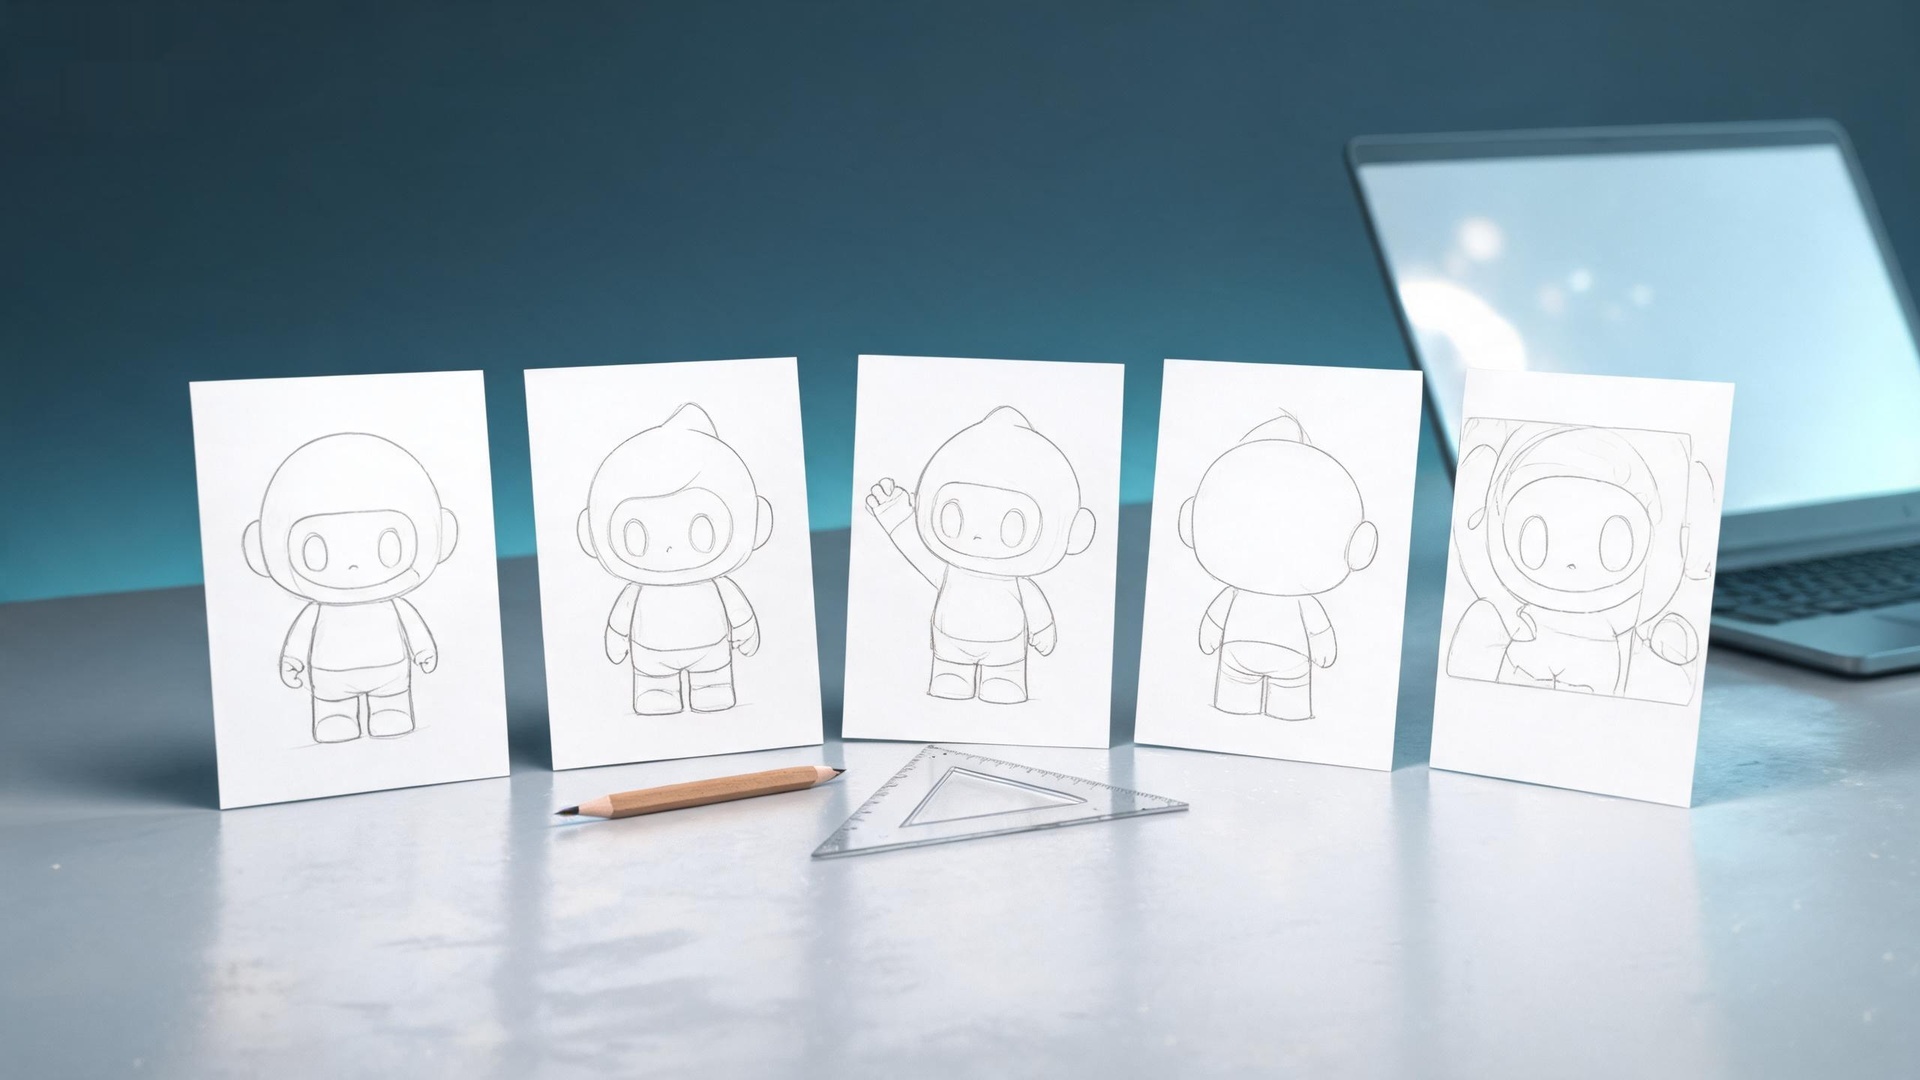
That document was the storyboard script. It fixed how many shots the film has, how long each one lasts, which angle the product appears from, and which frame the copy sits on. Once it is signed, the pacing and the narrative are essentially locked. Everything after that — modelling, lighting, rendering — is just executing the paper more precisely.
What we want to talk about today sits between the storyboard script and full production, and it is the step most projects skip: the animatic. It turns a static storyboard script into a cheap, timed previz video — so that "this feels wrong" happens while it is still cheap to fix.
So what exactly is an animatic?
Put simply: an animatic is shooting the film the cheapest possible way, first.
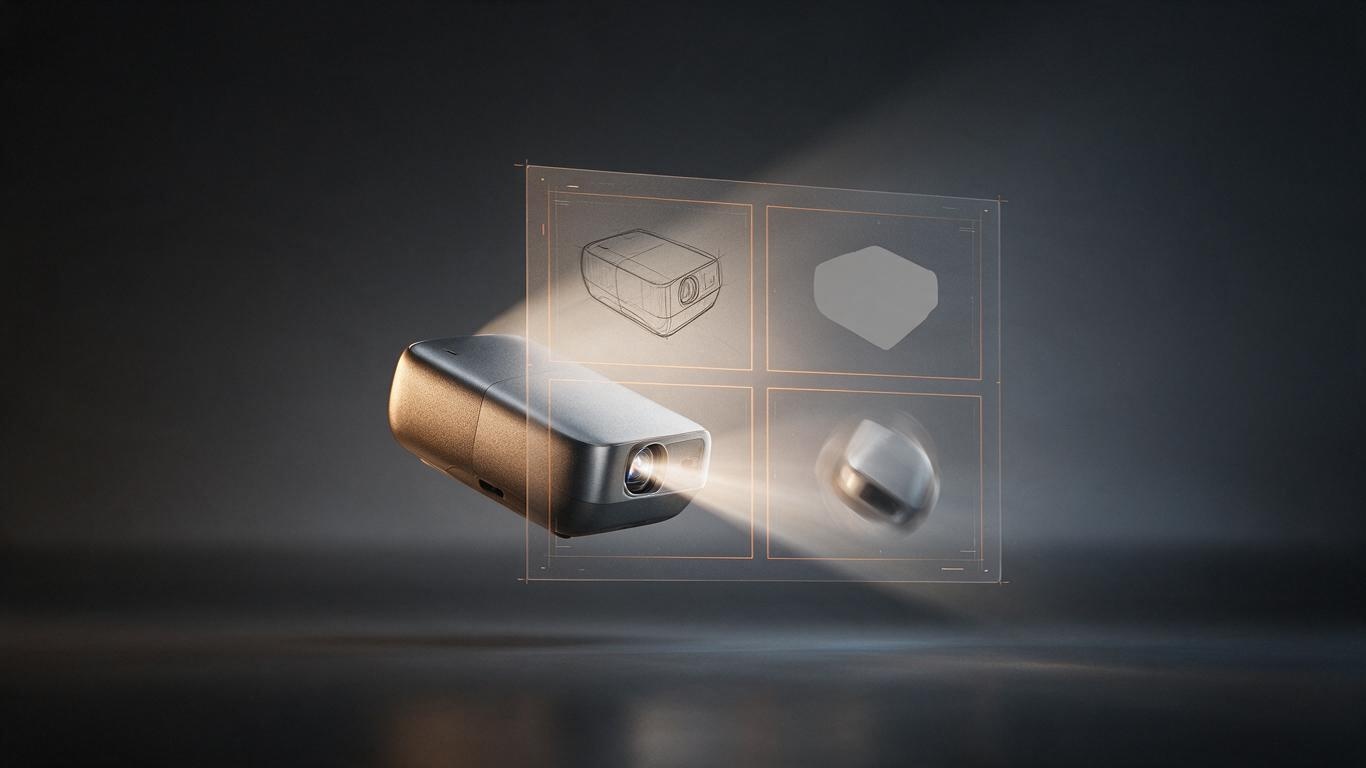
Take the still frames from the storyboard — sketches, line drawings, even product photos — add simple pans, zooms and moves, lay them on a frame-accurate timeline with temp sound, and cut it into a thirty-second video. The image quality is rough. The model might be grey. The product might be a box. But it exposes the three most expensive things early: pacing, information order, and the breathing room between shots.
People often mistake it for a low-fidelity version of the final film. It isn't. It is not meant to look good; it is meant to help you subtract — cut redundant shots, fix information density, confirm which second should hold.
Storyboard script vs. animatic vs. 3D previz
| Stage | Deliverable | Cost | What you can still change |
|---|---|---|---|
| Storyboard script | Document / PDF / storyboard cards | Lowest | Shot order, framing, copy placement, narrative |
| Animatic | Timed low-fidelity previz video | Low | Pacing, transitions, action beats, sound hits, duration |
| 3D previz | Blocked-out 3D animation | Medium | Camera moves, spatial relationships, occlusion |
| Final film | Final models, lighting, render | High | Minor detail tweaks only |
The most important column here isn't "deliverable". It's "what you can still change". The further down you go, the less you can change, and the more each change costs.
Why 3D product animation needs this step more than live action
In live action, reshooting a shot is predictable. In 3D, a single shot sits on top of models, rigs, animation curves, lighting and a render queue. When you say "slow that rotation down half a beat" at the final stage, the production side hears "rebuild that segment and render it again".
A rough but useful industry rule of thumb: the cost of a change grows by about an order of magnitude between stages. Changing a shot at the storyboard script stage takes ten minutes. At the animatic stage, half a day. After rendering, it's a redo. That is why we treat the animatic as a gate — it stops most rework where it is cheapest, and why we list previz as its own node in our live-action vs. AI+3D workflow comparison rather than folding it into "production".
The more complex the product, the less optional this becomes. With something like a precision machinery animation, where a dozen parts move in sequence, a written description of "unfold first, rotate, then retract" guarantees that the client and the studio are imagining two different films.
What a proper animatic must contain
- Shot numbers and total duration, frame-accurate (e.g. S03, 00:08–00:11)
- Camera position and direction, with arrows for push, pull, pan, tilt, orbit
- Action beats: the lid opens at second 4, rotates 90 degrees, then holds
- Copy and subtitle in/out points — which line sits on which frame
- Transition types: hard cut, dissolve, or masked wipe
- Temp sound and music emotion hits, even if it's a single "ding"
- Safe areas reserved for platform UI, cover text and play buttons
Miss any of these and post-production starts guessing. And whatever gets guessed will come back as a revision request.
How to review an animatic: the three-pass method
Pass one: watch it with the sound off. Judge pacing only. Are there at least two breathing points in thirty seconds? Does the information ever get to breathe? If it feels suffocating now, adding render quality and music will only make it worse.
Pass two: listen without looking. Check whether the key messages land on the stressed beats. A very common problem: the voiceover says "quiet mode" while the picture is still on the previous shot.
Pass three: go frame by frame. Is the brand mark on screen long enough? Did a transition swallow your main selling point? Does the side of the product people most need to see get enough hold time? Pass three can be slow, but the first two must be fast — the worst outcome is turning a pacing problem into a detail debate.
Three common mistakes
Mistake one: treating the animatic as a style reference. It is a timing sheet, not a mood film. Its lighting and materials carry almost no reference value — don't argue about them there.
Mistake two: replacing the storyboard script with a written script. "The product appears slowly from the side" — how slowly? At what angle? How much of the frame? Anything not committed to a picture becomes free improvisation by the production team, and improvisation rarely lands where you wanted.
Mistake three: cramming twelve selling points into thirty seconds. The animatic exposes this faster than anything else: watch it three times and you will remember two points at most. So cut it down to two.
Next step
If you are preparing your next product film, write a solid storyboard script first, then ask your studio for an animatic. When evaluating vendors, compare them against the four dimensions brands use to choose an AI+3D animation studio, and pay attention to whether they are willing to iterate with you at the previz stage. The ones who are usually have real confidence in the final delivery.
Want to talk through your product? Contact us, send over your materials, and we'll come back with a first pass at the shot list.