
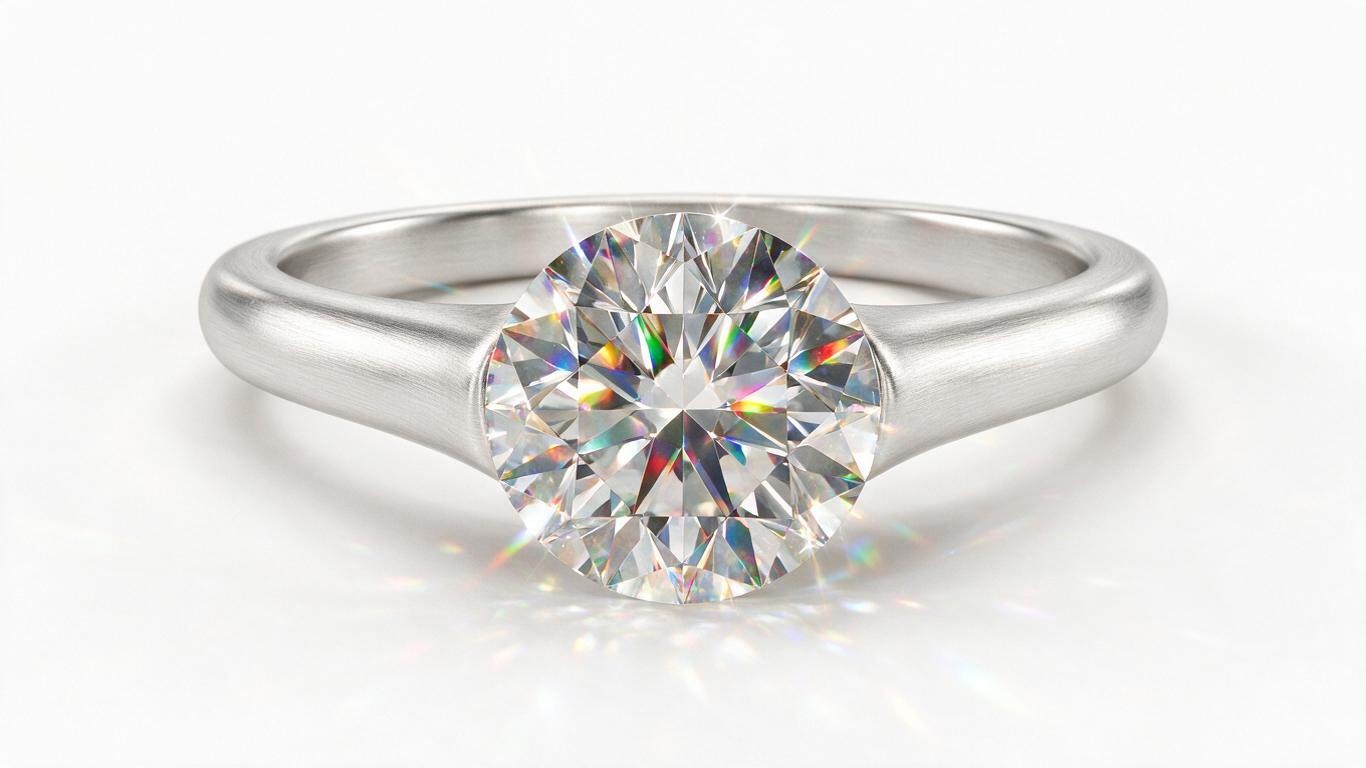
Last week, a client told us: 'Your animation is nice, but my product still looks a bit plastic. It lacks real texture.' That's not a technical flaw; it's all about material parameters. Today, let's dive into the secrets of materials and textures in product animation, and share some practical pitfalls we've learned.
First, the basics. PBR (Physically Based Rendering) is the backbone of modern renderers. Key parameters: Base Color, Roughness, Metallic, and Normal Map. Nail these and you're 60% there. Many beginners set Metallic to 1.0 and call it done, but that makes the product look like a polished stainless steel sheet – too reflective. Real metal has subtle scratches and oxidation layers, which you can simulate with roughness maps and normal maps.
Metal: Don't blind the user with highlights.
Clients in appliances, auto parts, jewelry often demand 'high-gloss realism.' But lowering roughness to 0.05 makes it cheap-looking. Try a two-step strategy: set a base roughness of 0.2~0.4, then use a noise texture to locally increase roughness to 0.6 in wear areas. Also, keep Metallic around 0.9~0.95 instead of 1.0, because real metal has a thin oxide layer.
Glass and transparent materials: IOR is the soul.
Perfume bottles, wine bottles, eyewear – these transparent products are the toughest. Two things matter: Index of Refraction (IOR) and caustics. Typical glass IOR is 1.5, crystal 1.6, diamond 2.4. Many skip caustics, resulting in flat lighting. Enabling caustic light spots instantly brings life to the product. A pro tip: for thin-walled glass (e.g., 1mm thick bottle), enable the 'thin wall' option, otherwise refraction distorts internal liquid.
Manual tweaking is powerful, but AI boosts our efficiency. Our current AI-assisted PBR texture workflow: write a text description (e.g., 'brushed metal surface, slight rust stains') to generate normal maps and roughness maps, then overlay them in 3D software. Compared to manual texture painting, time drops from half a day to 30 minutes, with richer detail. Combine with our earlier lighting tips for best results.
A real case: a beauty brand's glass bottle
The client wanted a 'morning dew transparency' feeling. We generated a high-resolution normal map with AI (simulating micro-surface imperfections), set IOR to 2.5 and turned on caustics. The client approved after only one revision. Key parameters: Base Color (R0.95 G0.97 B1.0), Roughness 0.05, Metallic 0, IOR 2.5.
Material is the 'skin' of product animation, texture is the 'pore'. Only when both are finely tuned, the product can 'breathe' on screen. If you're struggling with realism, start by polishing your material parameters – and consider AI assistance. Feel free to discuss details with us anytime.


