
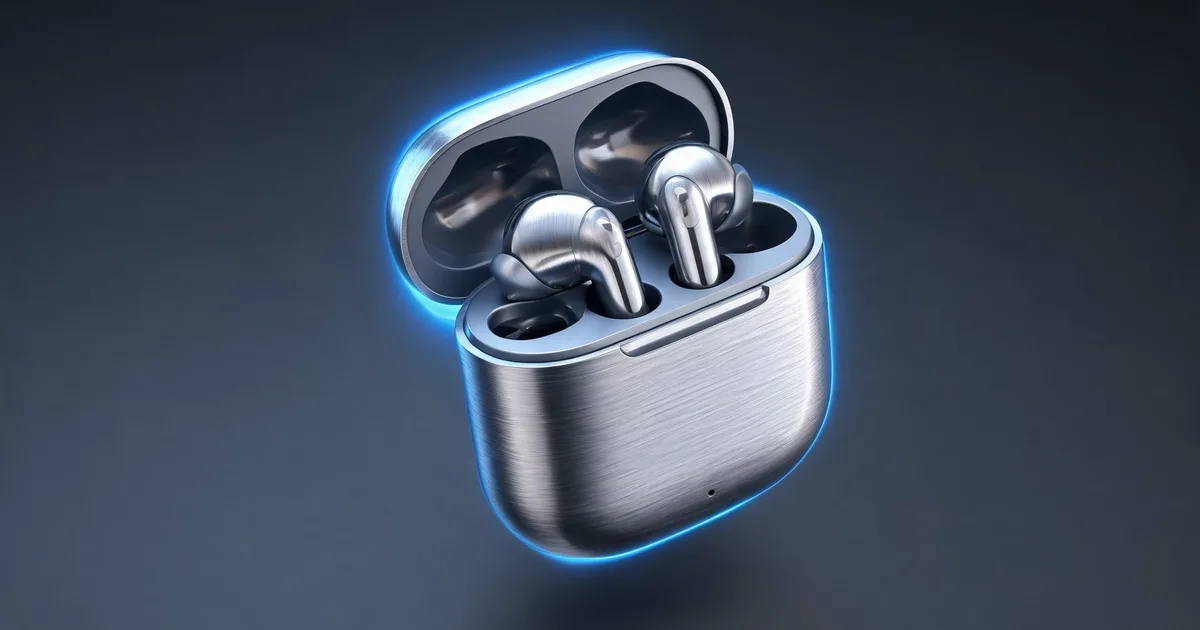
Lighting Defines Quality
In e-commerce product animation, the first thing consumers notice isn't the product's features — it's the product's visual quality.
The same product with flat lighting vs. carefully designed lighting can yield a 3x difference in conversion rate. The core factor behind this difference is lighting design.
Looking back at our previous article on AI+3D Product Animation for 3C Electronics, the lighting plan was one of the most critical elements in the entire pipeline. Today we explore lighting techniques in depth.
Seven Core Lighting Techniques
1. Three-Point Lighting (The Foundation)
The starting point for all product animation lighting — the standard three-point system:
- Key Light: Placed at 45° above and to the side of the product, defining the main highlights and shadow distribution
- Fill Light: A soft light source from the opposite side, eliminating harsh shadows and revealing details
- Back/Rim Light: From behind the product, outlining its shape and enhancing depth and dimensionality
This system works for 85%+ of product types — headphones, watches, phones, and cosmetics alike.
2. HDRI Environment Lighting
Using High Dynamic Range Images (HDRI) as environment lighting in 3D scenes creates incredibly realistic reflections on metal, glass, and polished surfaces.
Tips for choosing HDRI maps:
- Studio style: Soft, even — ideal for most product showcases
- Outdoor natural light: Perfect for sports gear, beverages, and outdoor furniture
- Indoor ambient: Suitable for home and office product presentations
3. Metal Surface Lighting
Metal surfaces are among the most challenging to light. The highly reflective surface directly mirrors light source shapes and colors.
Core techniques:
- Use large softboxes (not point lights) for softer highlight areas
- Use light cards to create clean white reflections where needed
- Avoid uneven dark patches on metal — test reflections from multiple angles
- Brushed metal needs highlights aligned with the texture direction
4. Glass & Transparent Material Lighting
The key to transparent materials lies in edge highlights and internal refraction:
- Use backlighting to let light pass through the product, showing material clarity
- Add rim lights on both sides to outline glass thickness and shape
- Add volume light effects inside, making light flow within the transparent material
- For bottled products (perfumes, skincare), internal liquid color and transparency must work together
5. Ambient Lighting — The Storyteller
Ambient lighting doesn't illuminate the product — it creates emotion.
- Warm tones (2700K-3500K): Luxury, elegance, comfort
- Cool tones (5500K-6500K): Tech-forward, calm, professional
- Mixed color temperatures: visual impact through warm-cool contrast
- Dynamic ambient (AI-driven): Colors and intensity change slowly over time for a breathing effect
6. Area Light vs. Point Light
Area lights produce soft shadows that better suit modern product aesthetics:
- Area Light: Soft transitions, simulating softboxes or window light — ideal for premium products
- Point Light: Hard shadows, dramatic — suitable for stage effects or special atmospheres
- Practical recommendation: 70% area lights + 20% point lights (small) + 10% environment light
7. AI-Assisted Lighting
Modern AI tools can now assist with lighting design:
- AI analyzes product materials and automatically recommends lighting setups
- Trained on thousands of high-end product photos, AI suggests optimal lighting configurations
- AI-powered real-time previews reduce lighting adjustments from "trial and error" to "first-time right"
In AI+3D workflows, AI-assisted lighting can cut setup time by 50% or more.
Case Study: Bluetooth Headphone Lighting
Using our recent 3C electronics case study as an example — the premium noise-canceling headphone lighting setup:
- Base setup: Key light from upper left 45° (800×600 softbox), fill light from lower right 20° (600×400 softbox, half power)
- Rim lights: Two white light strips from rear left and right, outlining ear cup bracket contours
- Bottom light: A weak light directly below the product, eliminating bottom shadows and enhancing the floating effect
- HDRI: Soft studio environment map
- Atmosphere: Deep blue-to-purple gradient background, matching the cool tech vibe
Final render results — smooth highlight lines on the brushed metal brackets, natural soft texture on protein leather ear cushions, crisp edge highlights on the touch panel.
Key Takeaways
- Identify material type first: Different materials need completely different lighting — analyze the material before designing lights
- Start with three-point lighting: It's the baseline — master it before exploring creative lighting
- HDRI is the fastest shortcut: A good HDRI map can instantly elevate render quality
- Leverage AI tools: By 2026, AI can significantly accelerate lighting setup and iteration
- Study premium product photography: Apple, Dyson, and Aesop product photos are the best lighting textbooks
Lighting is an art that requires constant practice. Ready to create cinematic lighting for your products? Contact us for professional AI+3D product animation solutions.