
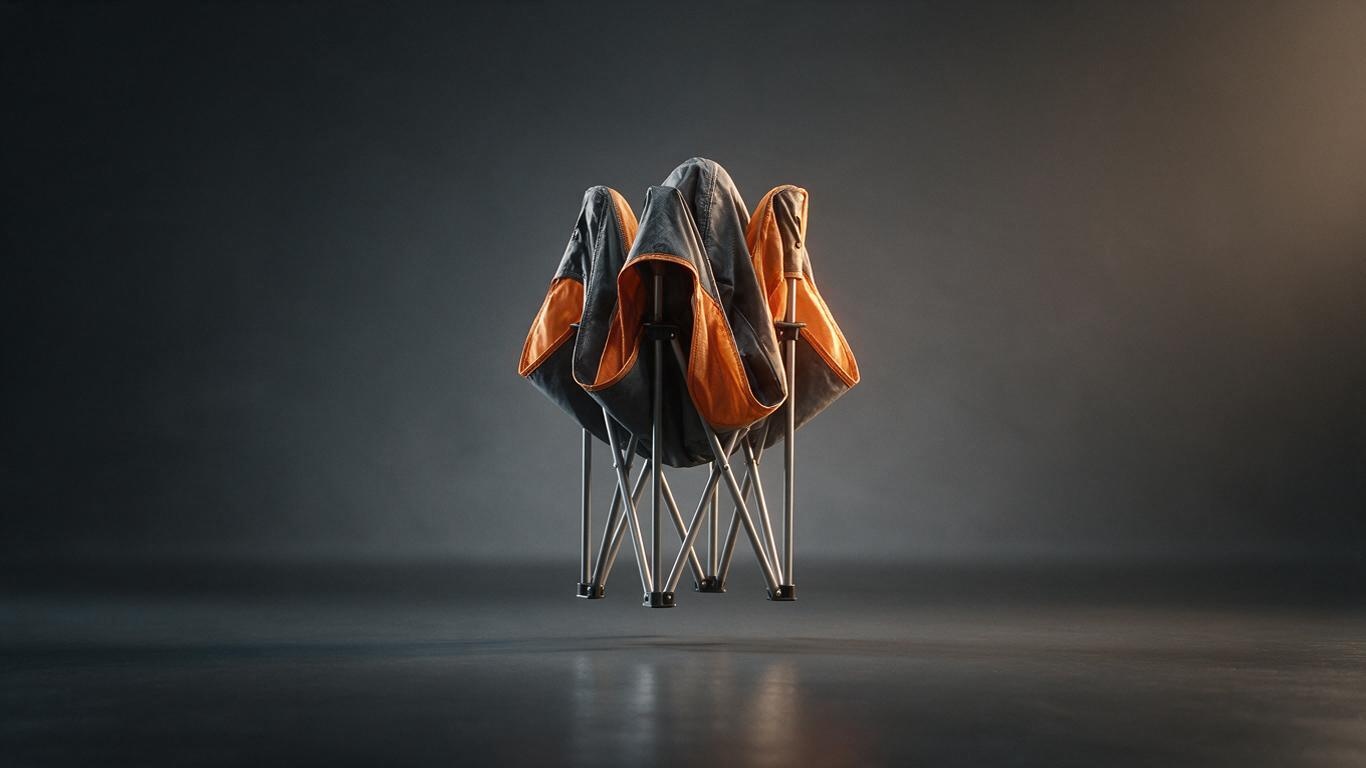
Last week a client in outdoor gear sent us a 30-second clip with a very direct question: you keep writing about how to make AI product animation, so I made one myself — why is it unusable? Ten seconds in, the problem was obvious. The zipper was writhing, the pole frame was intersecting itself, and the camera flew straight through the product. He used the same category of tools we use. The only real difference: his prompt was three lines long. When people ask how to make AI product animation, the answer is rarely in the buttons — it is in prompt structure and asset logic.
Most tutorials on how to make AI product animation spend their time on the interface: which panel to open, which slider to drag. But whether a shot survives editing comes down to three things — does the prompt describe physical structure, is there a 3D asset underneath, and is the iteration rhythm shot-first. After a couple hundred delivered clips, that is where our method lives. Here it is, unpacked.
1. Correct one assumption first: AI does not do one-prompt films
The test for product animation is not "does it look beautiful", it is "is the product right". Viewers may not know rendering, but they use the product daily — how many grooves the cap has, which side the button sits on, which way the lid opens. AI is a render accelerator and a camera operator here, not the inventor of your product. Once that clicks, the anxiety disappears: the product's truth has to come from your input.
2. Four layers of prompt structure
Beginners write adjectives: premium, high-tech, cinematic. To a model those mean nothing. We use four fixed layers:
- Subject structure: matte dark-grey stainless steel tumbler, straight wall, a 0.5mm groove near the base, twist lid, silicone loop on top;
- Material and surface: brushed 316 stainless with medium roughness, polished rim, matte silicone parts;
- Lighting and environment: large softbox overhead, warm rim light from the right, mid-grey gradient background, faint floor reflection;
- Camera and pacing: start low at 45 degrees, slow lateral move, 85mm equivalent, end with a slow push into the lid, steady then gentle.
Drop any one layer and the shot drifts. And never write "cool camera" — write position, direction, focal length, speed.
3. Three failures almost every beginner hits
Adjective disease: feelings instead of physics, so the model improvises. Parameter dumping: eight style words in one line, tugging against each other until the frame goes flat. Ignoring physics: lids cannot bloom open like petals, tripods cannot sink through the floor. Describe how it moves before you describe how good it looks.
4. Why shippable AI product animation always sits on a 3D asset
Text-only video generation has three hard limits: inaccurate structure, inconsistent products across shots, and no control over CMF. We build a lightweight 3D model from drawings or photos — film-grade precision not required — then let AI handle material extension, scene building and camera rendering. The product looks identical in every shot. For the asset path itself, see our breakdown of the AI-generated 3D modeling workflow.
5. Shot list first, generation second
Do not ask AI for a 30-second film on day one — you will get fragments that cannot be cut together. Write the shot list, generate each shot separately with a locked seed, change one variable at a time, select the keepers, then composite. For motion-driven shots, our notes on AI-driven motion generation explain how to separate "what drives the movement" from "what renders the frame".
6. The last 20 percent is color and compositing
Raw generations usually look plasticky: blown highlights, muddy shadows, drifting white balance. Unify color across shots, compress highlights, lift shadows, and add a subtle floor reflection with contact shadow. The logic is covered in detail in color science for ecommerce product animation.
7. Your first exercise: eight seconds, three shots
Pick a product within arm's reach, shoot four angles, write the four-layer prompt, and produce exactly three shots: a 3-second orbit, a 3-second detail macro, a 2-second open-and-close action. Then check every frame for intersections, deformation and lighting jumps. Pass that and you have the core 80 percent of how to make AI product animation. The remaining 20 percent is consistency at volume — that usually needs an asset library and pipeline management, so feel free to contact us and talk through your product.