
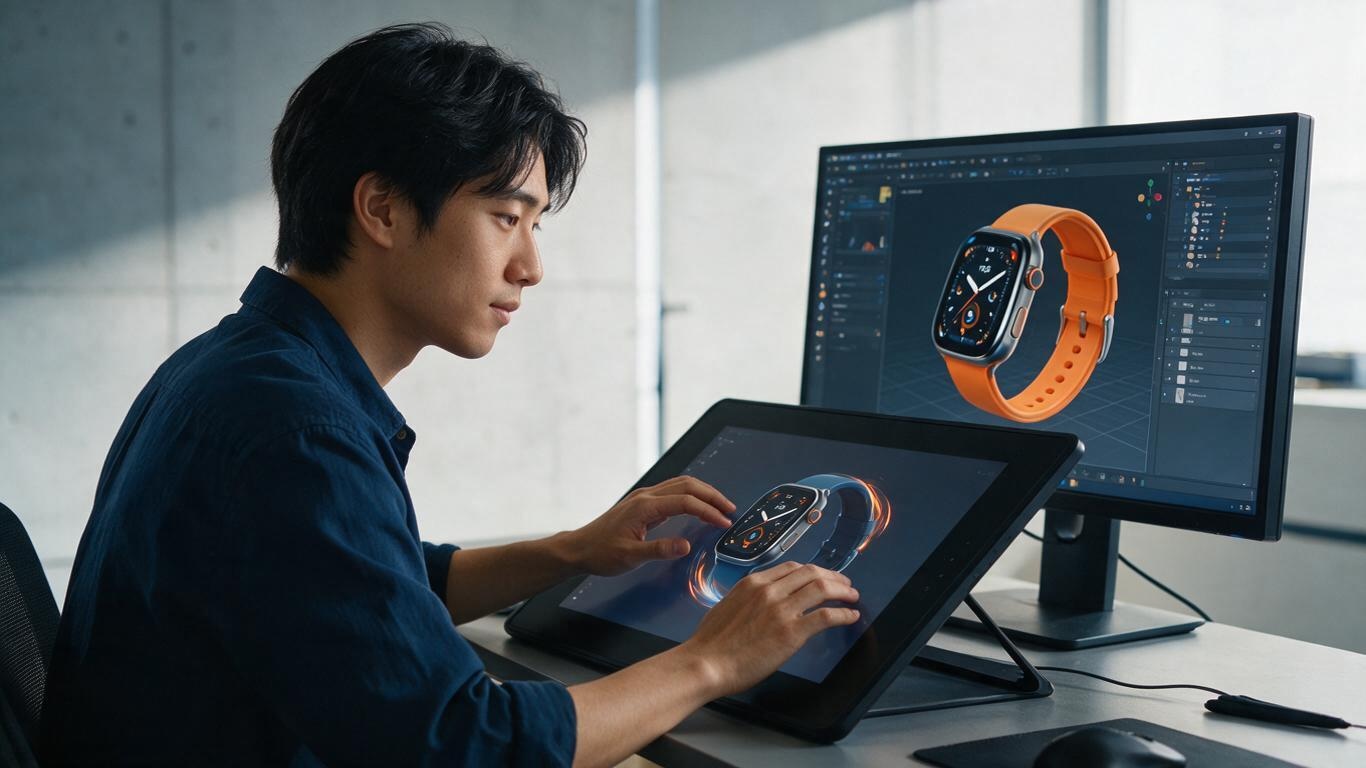
When a client asks, “How to make AI product animation?” we usually ask back: do you want a flashy showreel, or a video that actually lifts conversion? These two may look similar in technical process, but they are totally different in strategy. In this article, based on more than 200 projects from Artsky Studio, we break down the full workflow of AI product animation—from requirement analysis, AI modeling, animation generation, materials & lighting to post-production delivery. We'll share what to do, which tools to use, and what pitfalls to avoid at every step.
First, let's answer a core question: what is AI product animation in essence? It is not simply using AI to generate a video in one click. It is an industrialized workflow where AI assists and humans take control. AI accelerates repetitive tasks like modeling, keyframing, and light adjustment, while humans handle creative strategy, aesthetic judgment, and detail polishing. Once you understand this, you won't rely on some “AI magic tool,” but instead learn to combine tools and control quality.
So, how to make AI product animation? We summarize it into a five-step method that covers almost all commonalities across our client projects. Step one: requirement analysis and script planning. This stage is easily ignored, yet it determines whether the video can sell. Don't start by asking “What kind of animation can you make?” Instead, think clearly: who is the target audience? Where will it be distributed? What is the core selling point? Should we emphasize function, texture, or usage scenario? We use AI-assisted tools to generate storyboards, translating product features into visual language. For example, for a thermos cup with “24-hour heat retention,” the shots should visualize temperature change, not just a spinning product.
Step two: 3D modeling. You have two paths: traditional manual modeling, which is precise but time-consuming; or using AI-generated models as base meshes and then refining manually. We demonstrated in AI-Generated 3D Modeling Workflow how to generate base models from text or images, import them into ZBrush or Blender for detail correction, and cut modeling time by 40%-60%. For industrial products (like precision instruments, 3C electronics), it's recommended to add retopology and UV processing on top of AI output to avoid issues in later rendering. If you only have a 2D product image, you can quickly create a rotatable prototype using NeRF or image-to-3D tools.
Step three: animation design. The core of product animation is not “moving” itself, but “moving meaningfully.” AI helps a lot here: auto keyframing, motion capture, path animation, and even recommended camera moves based on product characteristics. We often use Blender's Auto-Rig Pro with action libraries, or AI motion capture tools like Move AI to convert real footage into skeletal animation. If you want to explore cutting-edge techniques, check out AI-Driven Motion Generation: Say Goodbye to Manual Keyframes. A quick tip: for mechanical products, use more linear motion and constraints to convey precision; for food and beverages, add elasticity and organic movement to make the visuals appetizing.
Step four: materials, lighting, and rendering. This determines whether the final look is “cheap” or “premium.” AI shines in auto-rigging lights and material generators. For example, using material libraries in Octane or Redshift, combined with AI denoising, can dramatically speed up rendering. For lighting, we recommend a base of “three-point lighting + ambient occlusion,” then adjust based on product personality: high-gloss materials (beauty, jewelry) use softboxes and reflectors; matte materials (machinery, furniture) use hard light and contrast. Rendering parameters are not “the more, the better.” You need to output different resolutions depending on the final distribution platform (e-commerce hero images, short video, large screens). We break down the details in Lighting Techniques in Product Animation.
Step five: post-production and delivery. AI post-tools like automatic rotoscoping, frame interpolation, and AI sound effect generation can make the short film come alive instantly. We usually do glow compositing and color grading in After Effects, then upscale and interpolate frames with Topaz Video AI to ensure 30-second HD videos play smoothly on mainstream channels. Before delivery, always do a “phone test”—play the video on your phone in a noisy environment with weak network to see if the audiovisual is clear and the selling point is visible within 3 seconds. Finally, if it's for ad campaigns, prepare 15s, 30s, and 60s versions, plus both horizontal and vertical formats.
In the end, there is no one-size-fits-all answer to “how to make AI product animation,” but the five-step method is a proven skeleton. You can adjust it based on your product, budget, and timeline. If you're planning your first AI product animation, try following this process, or leave a comment about where you get stuck.